
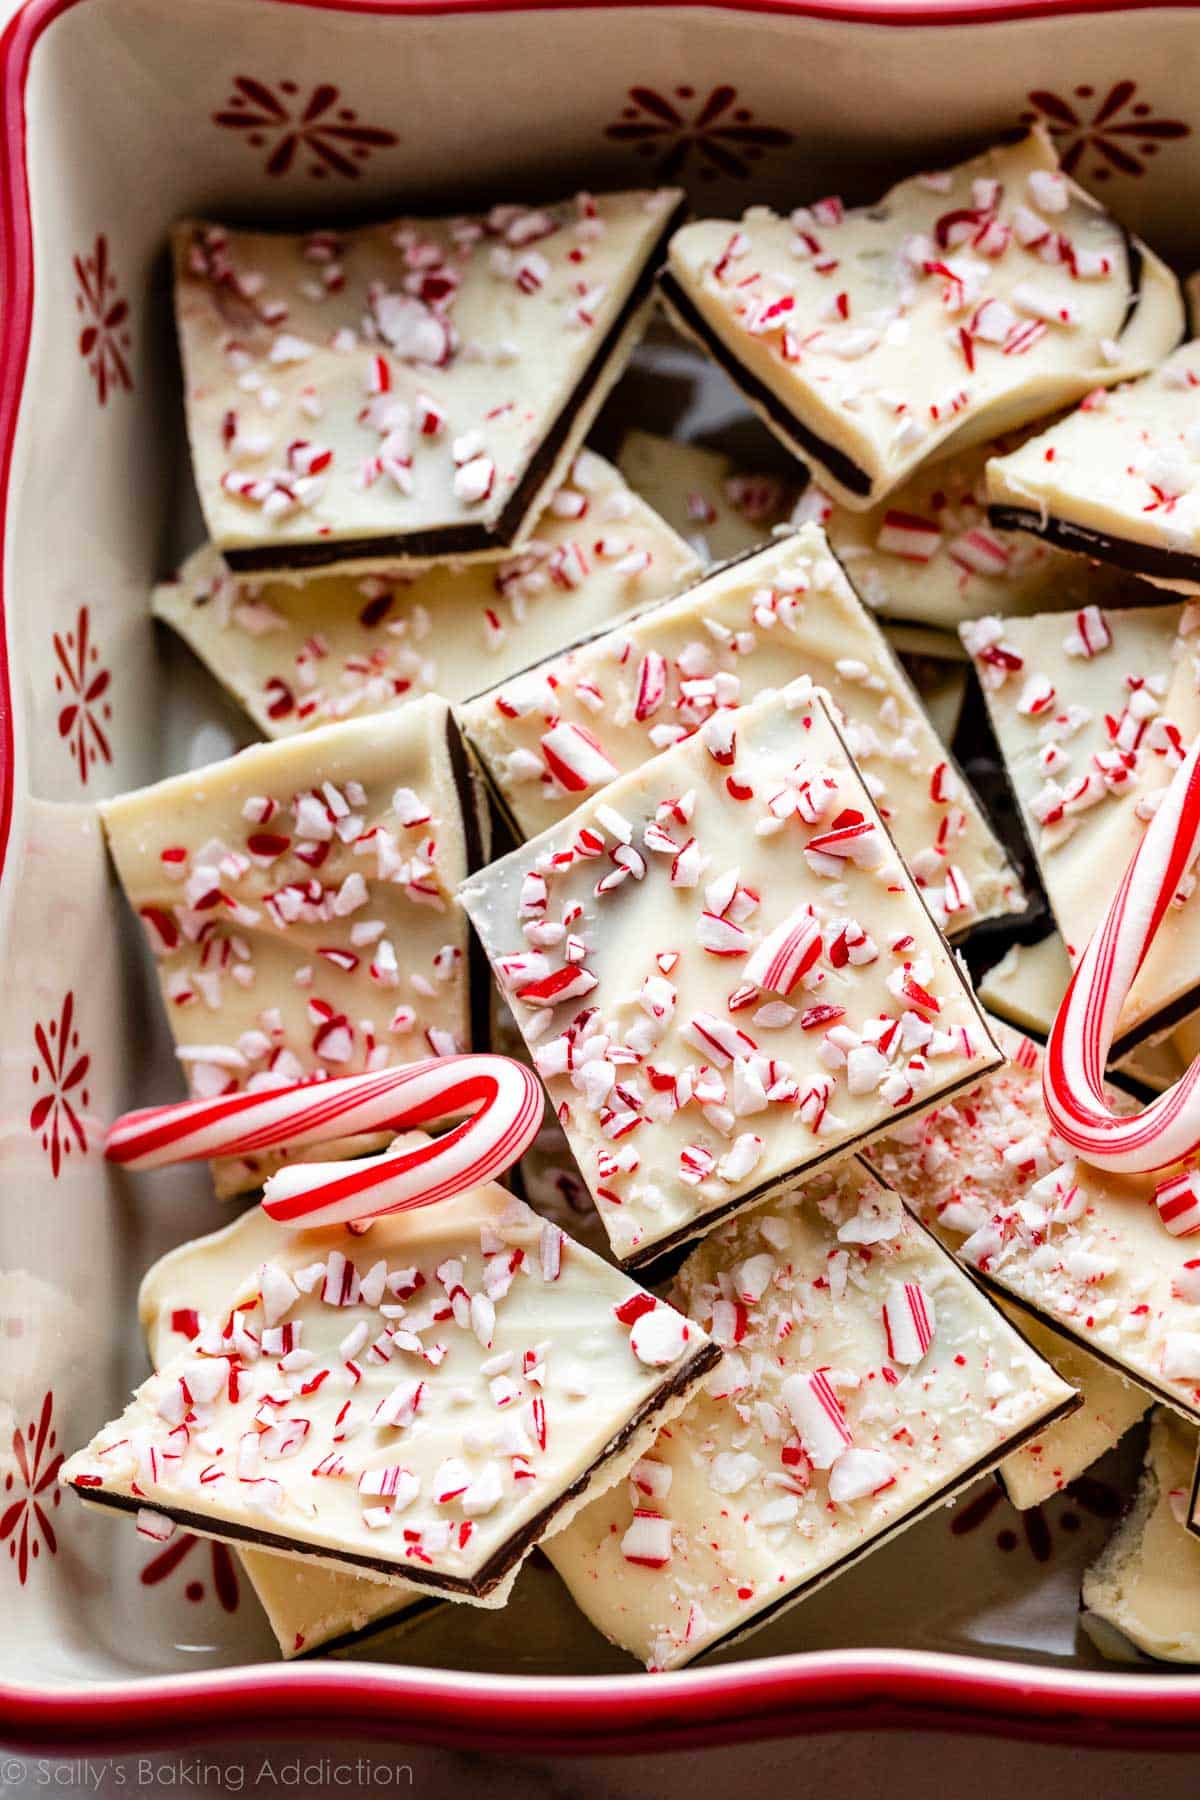
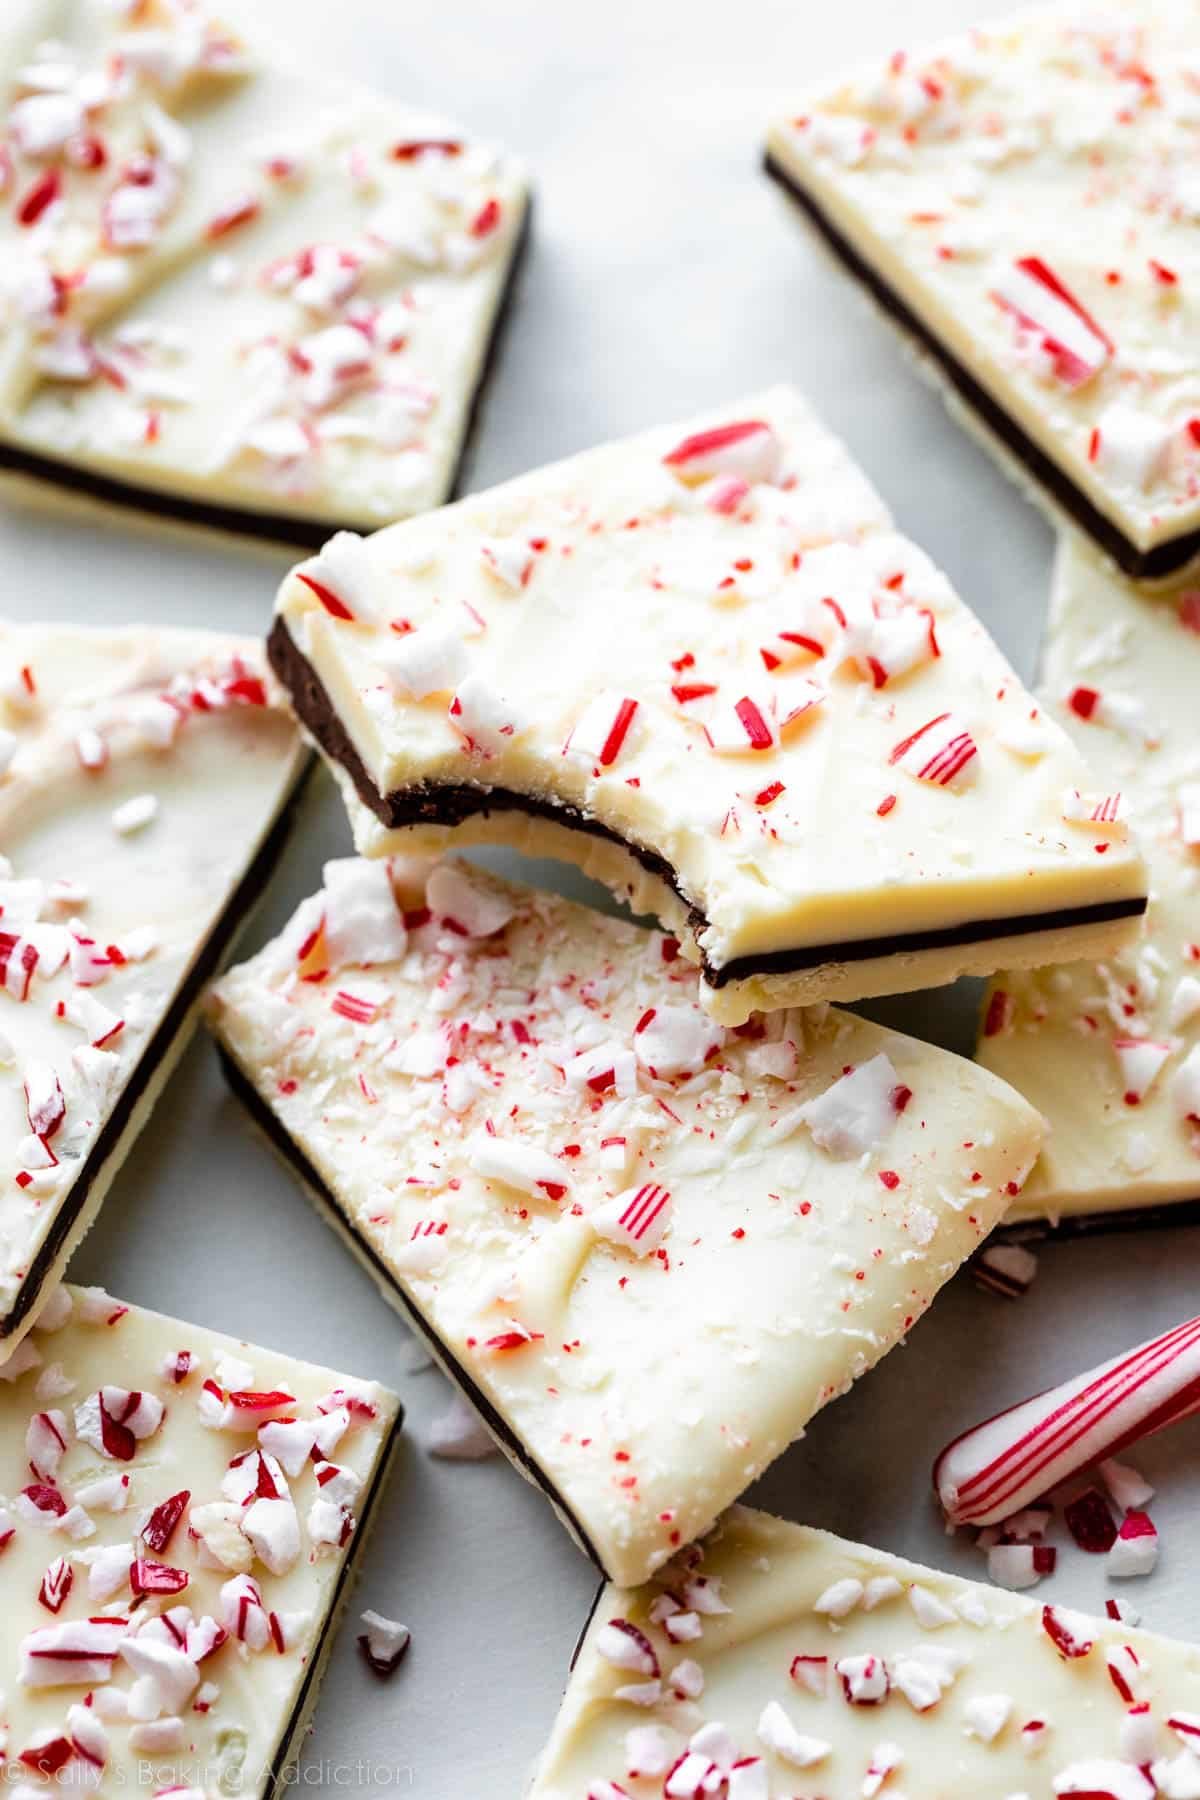
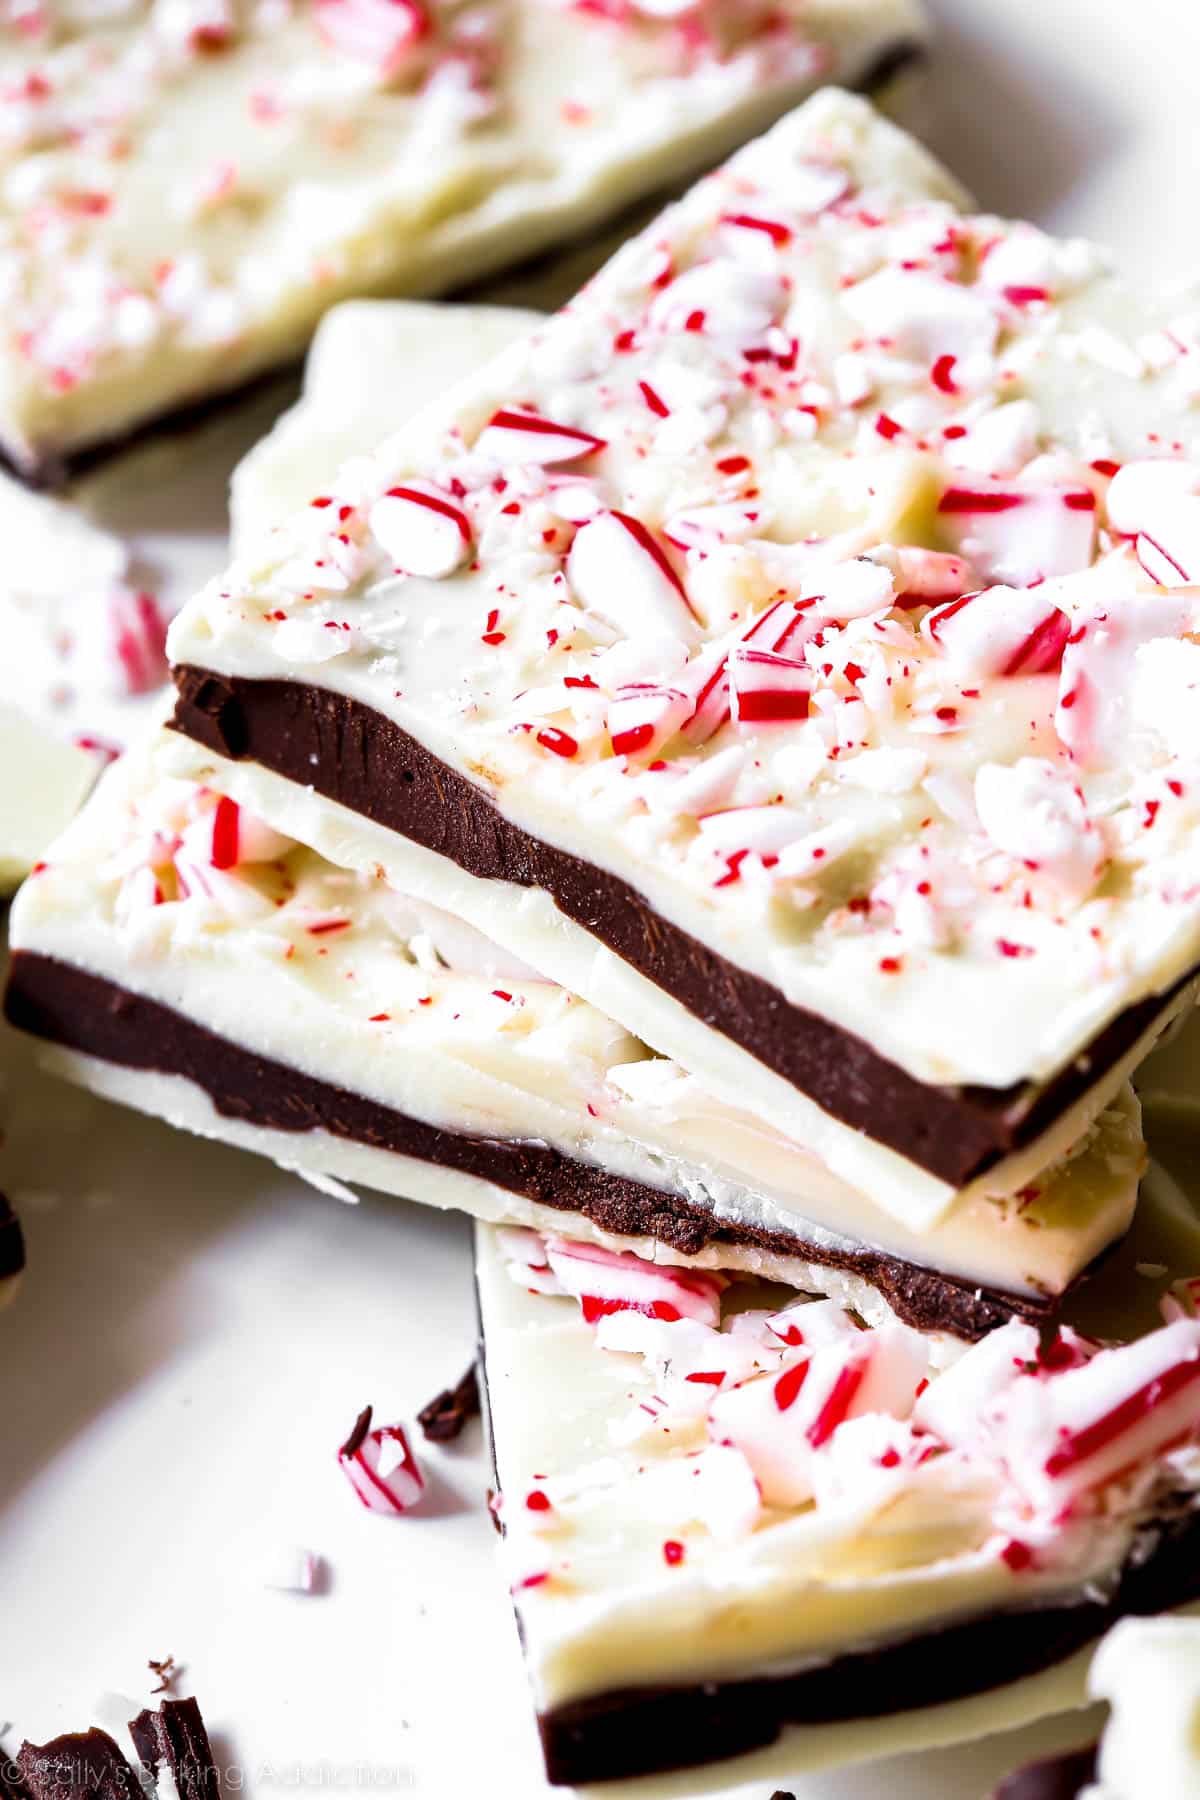
Peppermint bark is easy to make with just 5 ingredients. This simple recipe for the classic Christmas treat features 3 layers of white and dark chocolates flavored with peppermint extract, plus crushed candy canes for garnish. The bark sets in an hour, so your holiday treat will be ready for tasting and gift-giving in a snap!
This is one of the easiest holiday treats, and I’ve been making at least 4-5 batches every holiday season since I first published the recipe in 2014. Not much work is between me, you, and this extremely irresistible peppermint bark… dangerous, I tell ya!
There are so many recipes online for homemade peppermint bark, but this one is my favorite because you’re getting 3 layers, it’s made with real chocolate, and it’s really easy to scale up. Simply double or triple the ingredient amounts, and use a large baking sheet. (My biggest piece of dessert-related advice ever: you will never regret making a triple batch of peppermint bark.)
Here’s Why You’ll Love This Peppermint Bark
- Fresh and homemade
- So festive & always a big hit
- 5 ingredients, so simple—you’re literally just melting and spreading chocolate
- Uses real chocolate
- Peppermint flavor is not overpowering (kids love it)
- Melt-in-your-mouth soft with a delightful chewy crunch from candy canes (they soften a bit on the chocolate)
Besides being so easy and downright irresistible, this peppermint bark is my favorite “filler” on a cookie tray. You spend hours making dozens of cookies, and only need about 30 minutes of total prep time to make this. AND it’s always one of the first things gobbled up.
You’re basically just melting and spreading chocolate. No mixer, no oven… you only need 5 ingredients and a stove or a microwave.
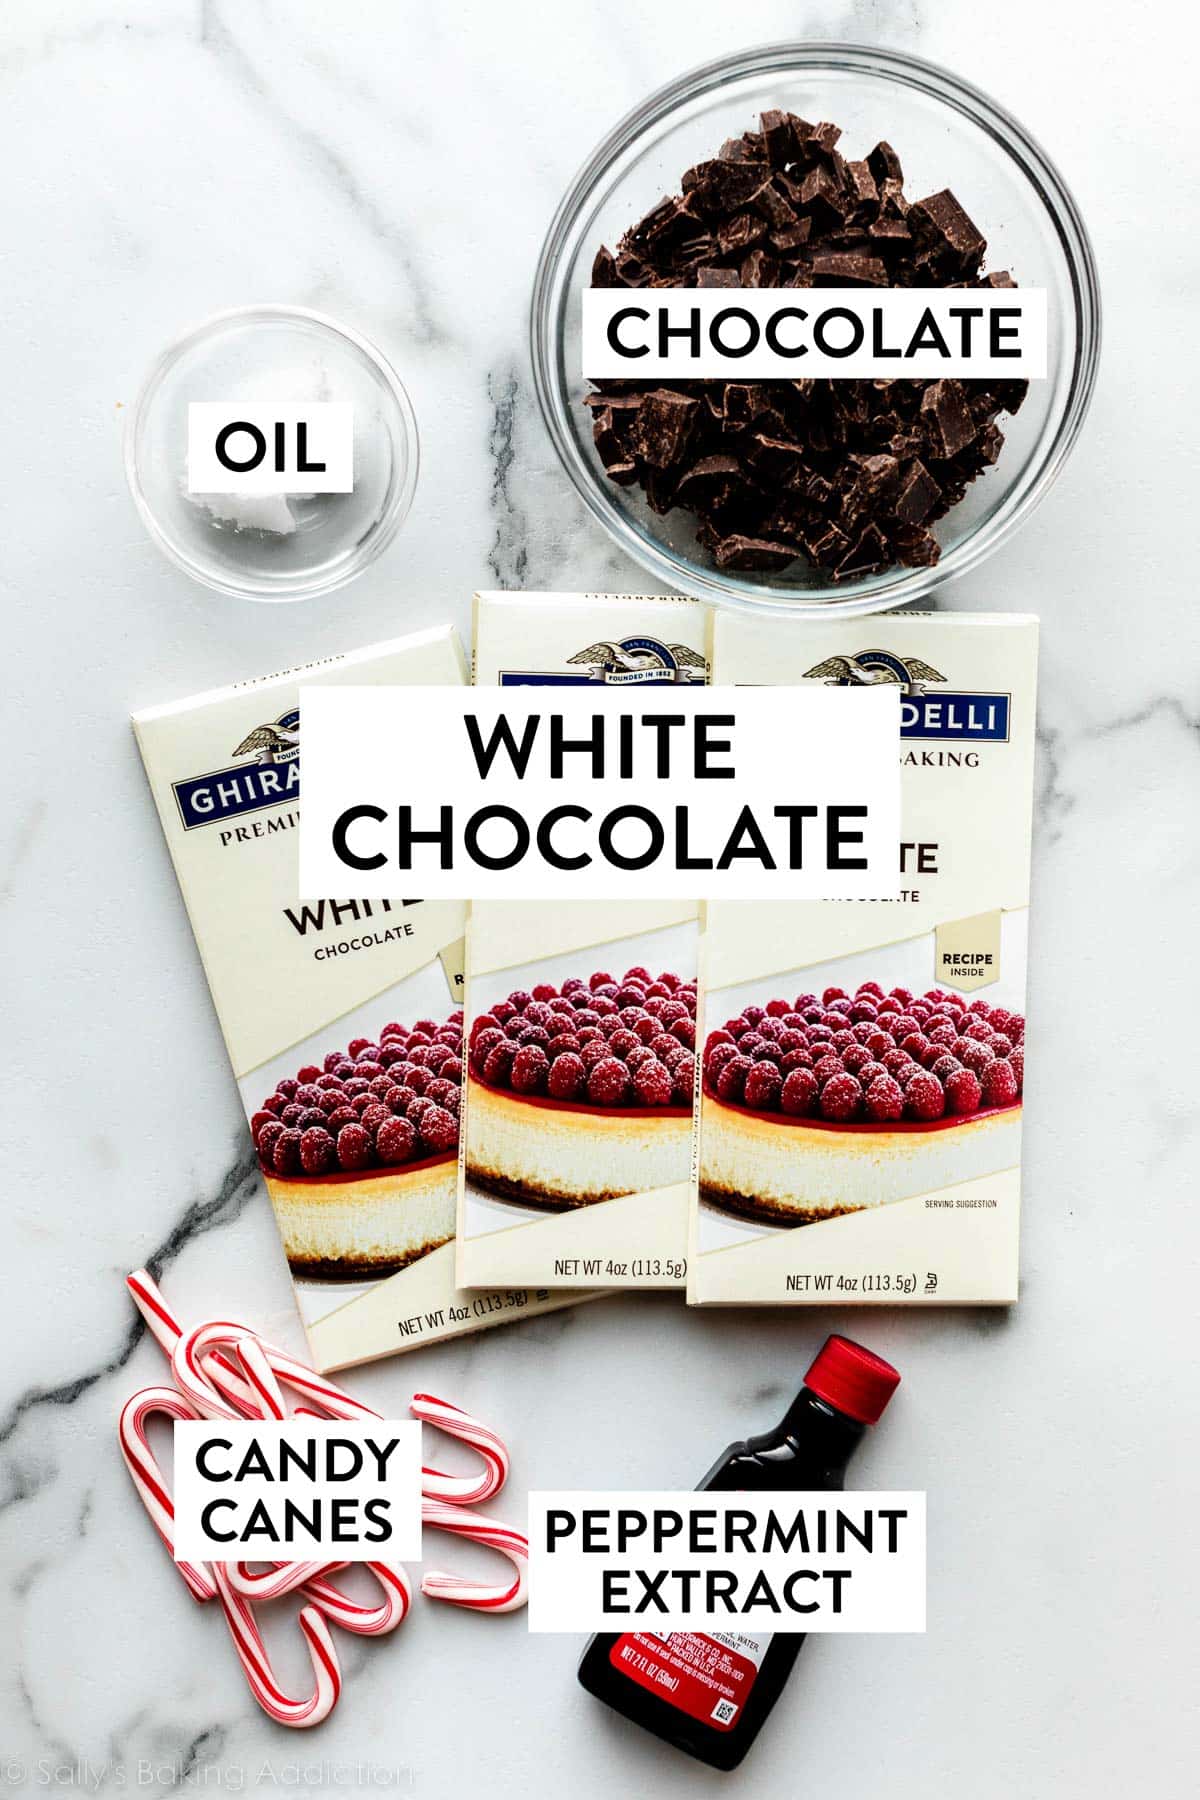
Key Ingredients You Need & Why
- White Chocolate
- Semi-sweet or Dark Chocolate
- Oil (coconut or vegetable). Oil helps thin out the melted chocolate so it’s easy to pour and spread. It also helps keep the chocolate on the softer side, rather than crumbly and hard.
- Peppermint Extract
- Crushed Candy Canes. You need somewhere between 1–3 standard-size candy canes (12–36g), depending on how much candy cane topping you like on your peppermint bark.
- Geese a-laying.
Whoops, went 1 too far. Stop at 5.
Best Chocolate to Use for Peppermint Bark
Since there are so few ingredients, it’s important to use quality chocolate. Chocolate chips and white chocolate morsels are fabulous in cookies, but are not ideal for melting into bark. Both contain stabilizers, preventing them from melting in a silky smooth consistency. That’s why chocolate chips keep their shape in your chocolate chip cookies.
And while candy melts are great for coating cake pops, in a recipe like this, you’ll really taste the difference between actual chocolate and candy melts.
I recommend Ghirardelli, Guittard, or Baker’s brand bars of chocolate when making bark of any variety.
Can I Change the Layers?
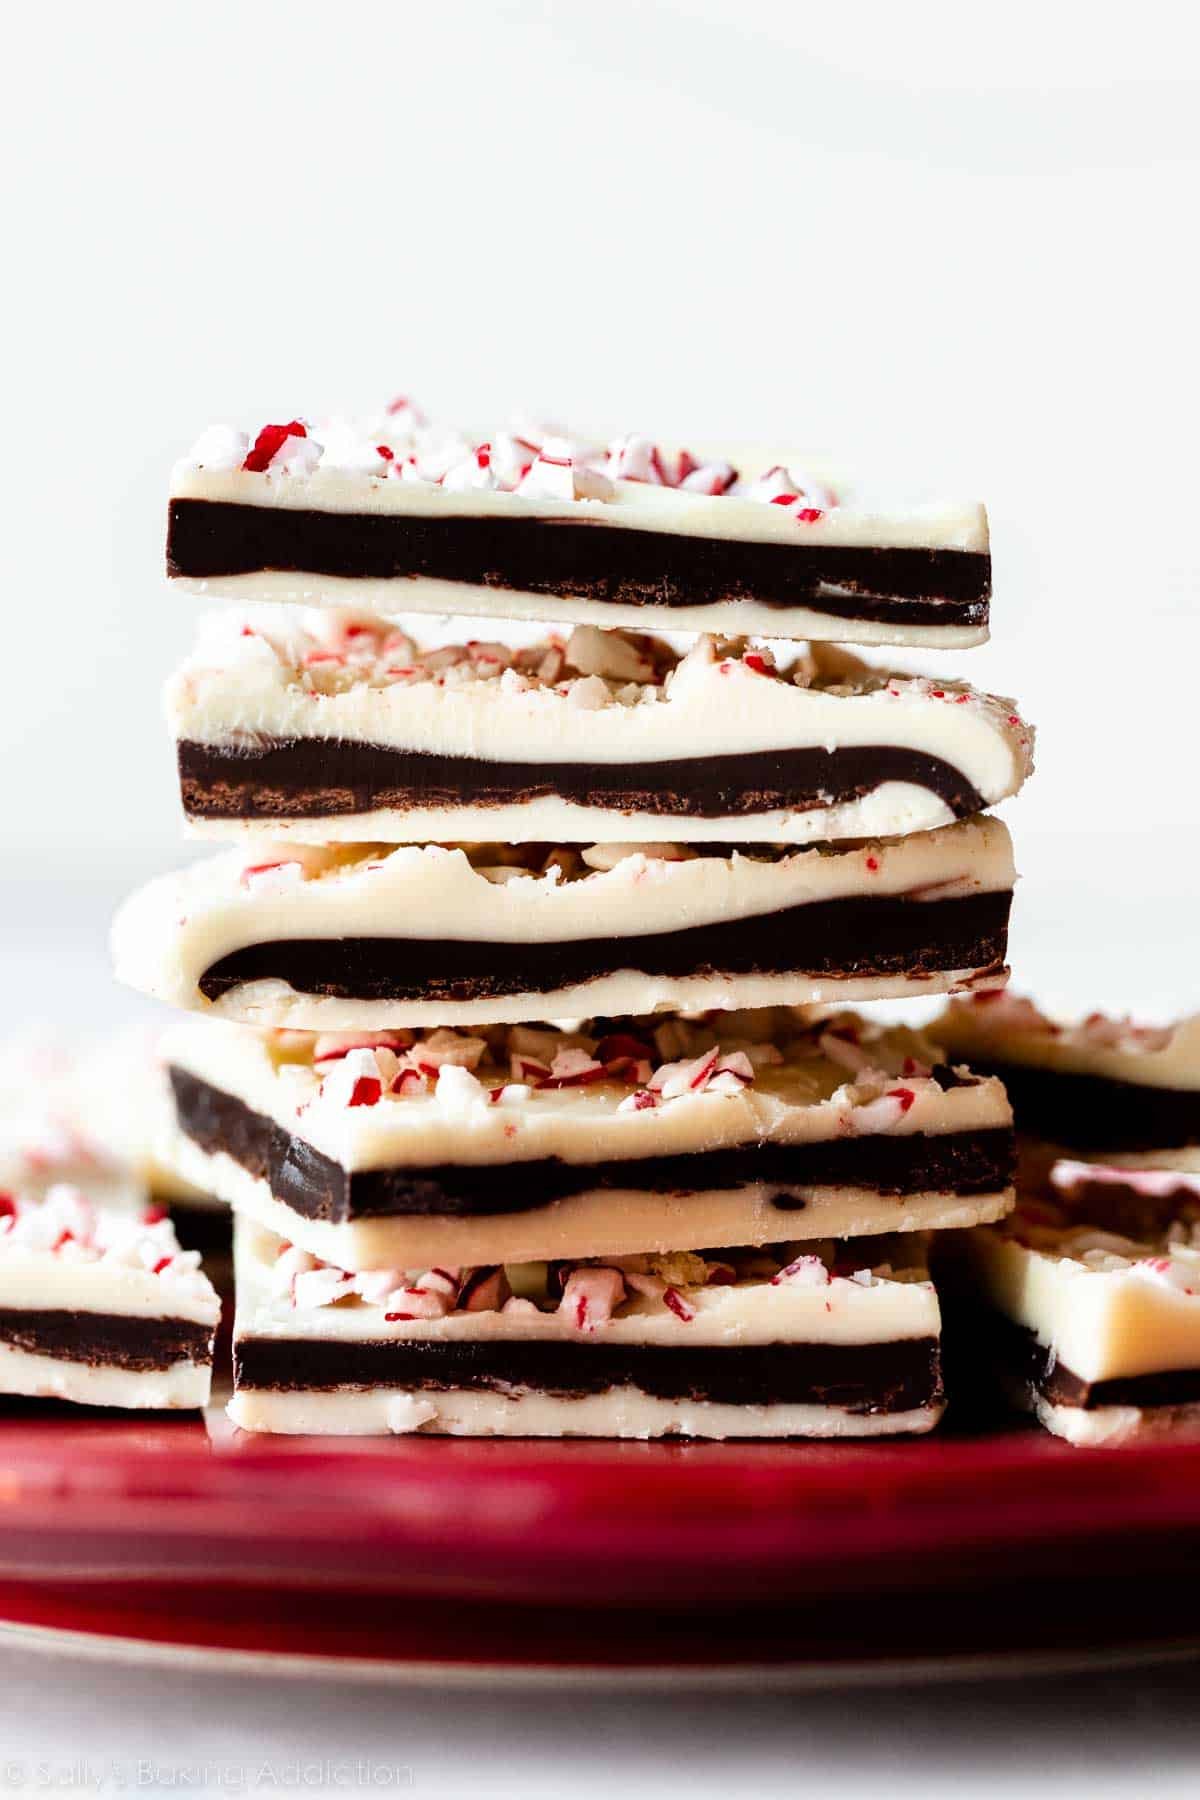
Yes. There are 3 layers of chocolate; a top and bottom layer of white chocolate and a middle layer of semi-sweet. Feel free to switch them around and sandwich the white chocolate in between two semi-sweet layers. You could also make it with just 2 layers instead of 3. If doing so, I recommend using 8 ounces of each chocolate. See recipe Note below.
These Step-by-Step Photos Will Help
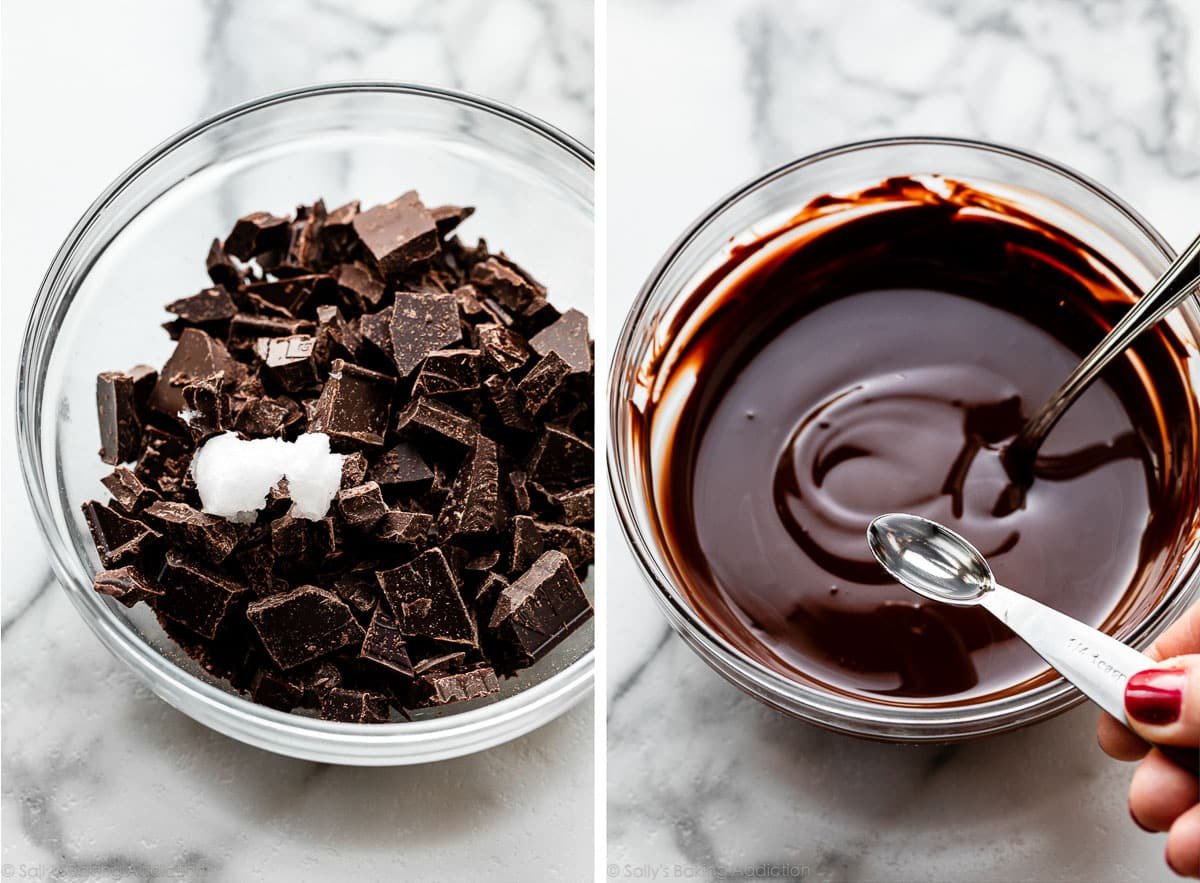
All you’re doing here is chopping up the chocolates separately, melting them separately with a little oil to thin the melted chocolate, and layering them on top of one another. Make sure you let the layers cool for 10-15 minutes in between layering or else you’ll wind up swirling the two chocolates together.
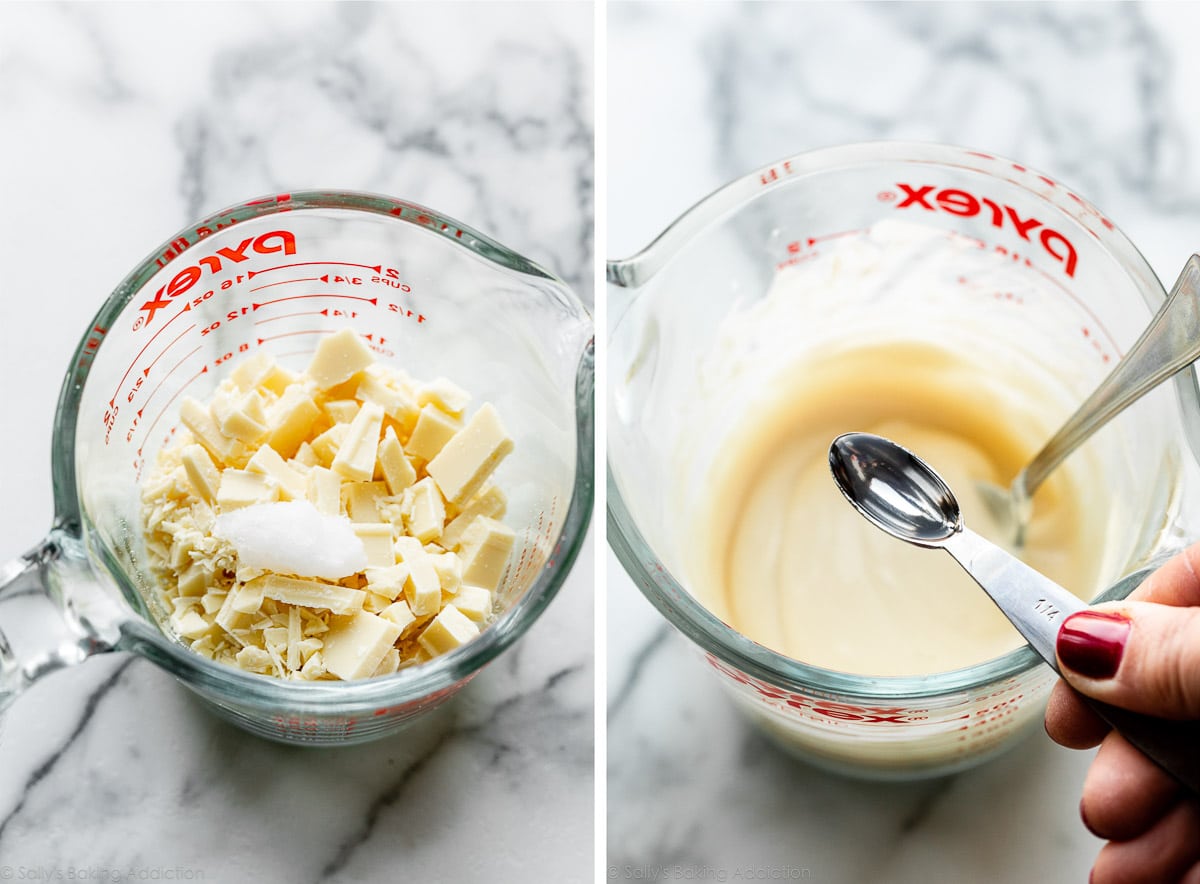
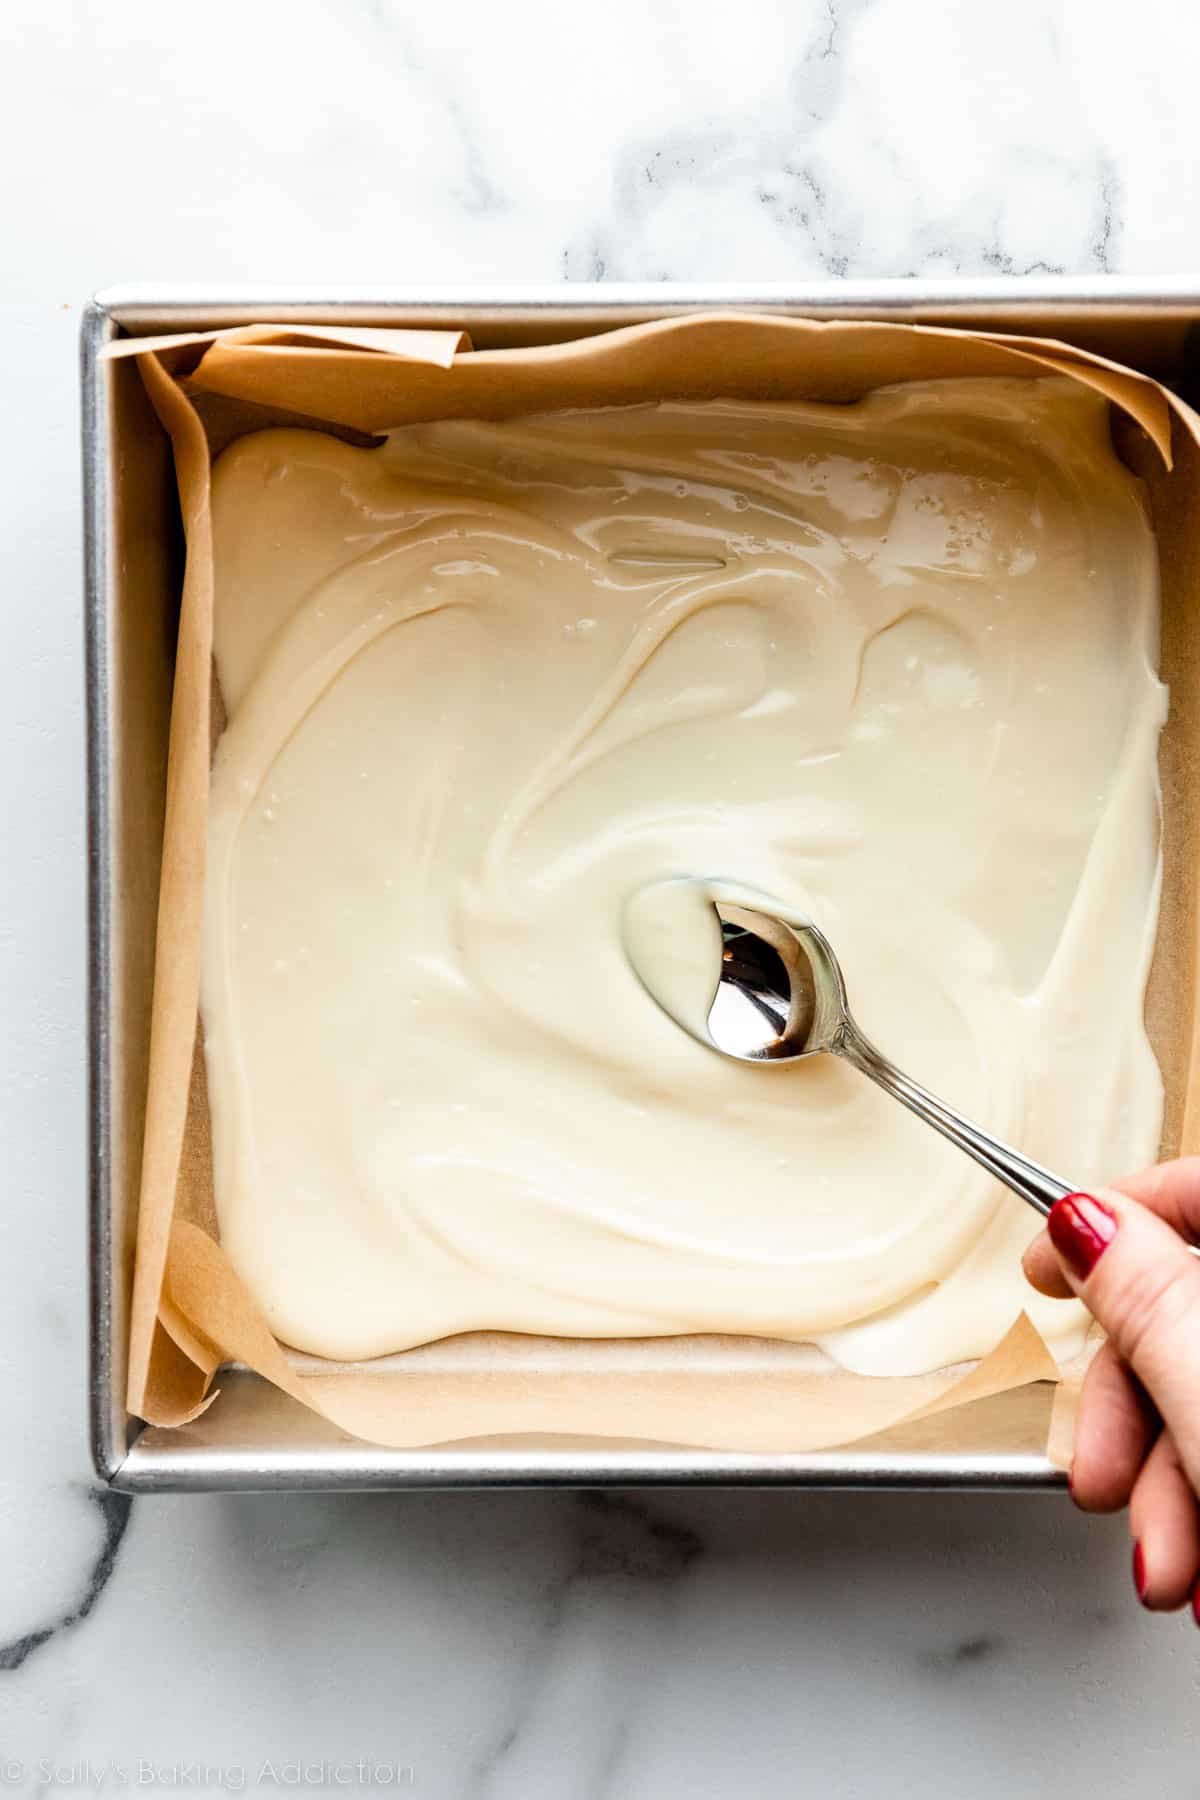
Melt 1/2 teaspoon of oil with the white chocolate in the microwave in 20-second increments, stirring in between. When melted and smooth, stir in 1/4 teaspoon peppermint.
Spread the peppermint-flavored white chocolate into a lined pan.
Place the pan in the refrigerator for 10–15 minutes (I find 11 is just about perfect). You don’t want it to set for too long and completely harden, or else the layers will separate.
Repeat with chocolate.
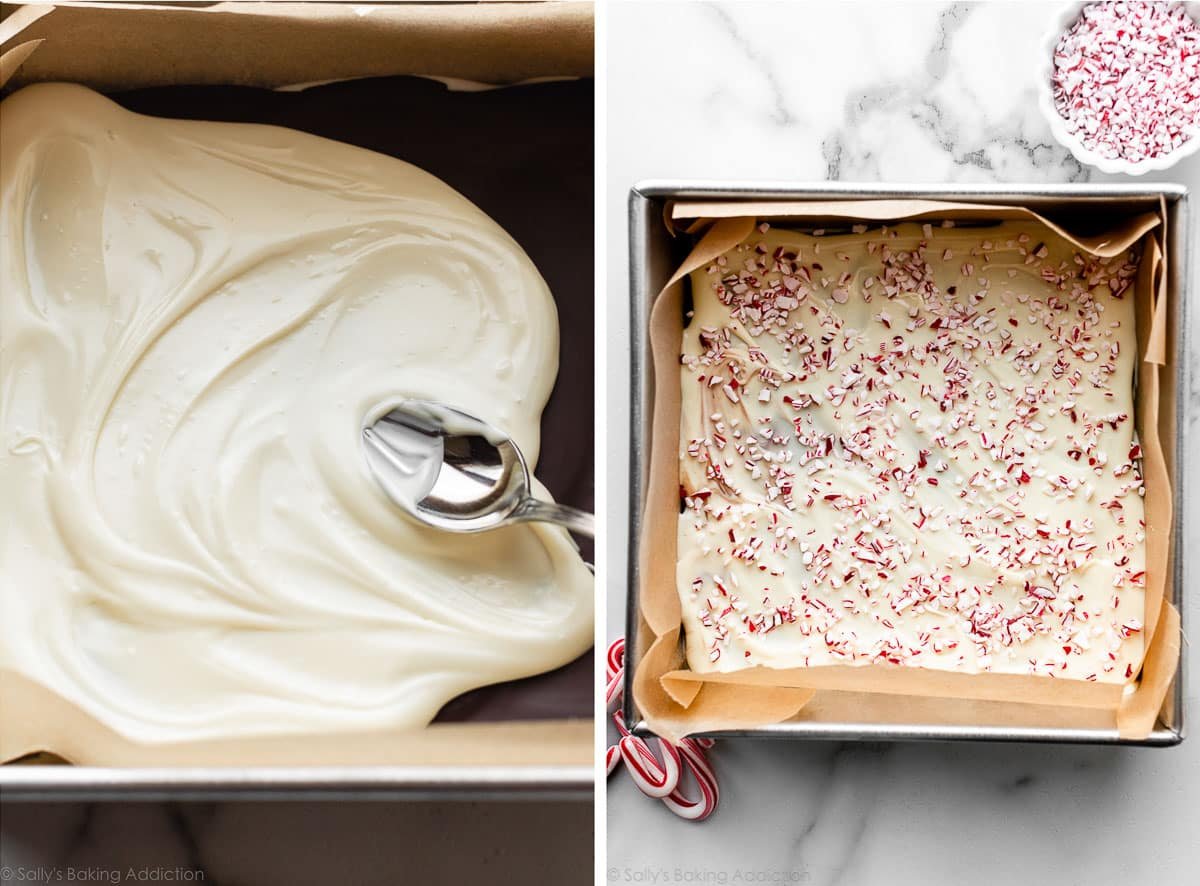
Repeat with second batch of white chocolate, but no peppermint extract in this layer. Sprinkle crushed candy canes on top, then return the pan to the refrigerator one last time to allow it to fully set. Peppermint bark takes about 1 hour to set.
If you have some leftover crushed candy canes, use them instead of sprinkles on your Christmas sugar cookies. 🙂
Use a sharp knife to cut the bark into pieces, or simply use your hands to break it apart, make a complete mess, taste test, taste test again. DONE.

Best Pan Size to Use?
You can spread/pour out the melted chocolates in an 8- or 9-inch square baking pan, or simply spread on a baking sheet, where the thickness is up to you. No matter which pan you use, make sure to line it with parchment paper or aluminum foil so the bark is easy to get out of the pan after it’s set.
Tips for Making the Best Peppermint Bark
- Spreading the chocolate layers: A spoon or offset spatula helps spread the melted chocolate easily. You can also pick up the baking pan and tip it to help the chocolate slide around.
- Why are my layers separating? You may have chilled the layers for too long. Only refrigerate the bottom and middle layer for 10-15 minutes before spreading the next layer on top. You want it still a bit soft so the layers adhere.
- Can I use peppermint oil instead of extract? You can use peppermint oil, but proceed with caution! This stuff is very potent and you’ll only need a drip in the bottom and middle layers.
- Crushing candy canes: I find the easiest way to crush candy canes is to put them in a zipped-top plastic bag and take out any holiday season stress on them with a rolling pin or a meat mallet. Optional: Put on your favorite version of The Little Drummer Boy and pound along. Pa rum pum pum pum!
- Storing peppermint bark: You can store this homemade candy for a few days at room temperature, or up to 2 weeks in the refrigerator.
Tins or treat bags of homemade peppermint bark make such a lovely holiday gift. Pair with Christmas cookies in a jar or homemade vanilla sugar for a sweet homemade treat anyone would love to receive!
Description
Incredibly simple white chocolate and semi-sweet chocolate layered bark flavored with peppermint and topped with crushed candy canes. Review recipe Notes before starting.
- Line the bottom and sides of a 9-inch or 8-inch square baking pan with parchment paper or aluminum foil, smoothing out any wrinkles. Or use a lined baking sheet. Set aside.
- Bottom layer: There are a few ways you can melt the chocolate. You can use a double boiler over just barely simmering water or you can use the microwave. The microwave is a little more convenient for most, so my directions are for a microwave. (If using a double boiler, follow this recipe, but melt the chocolate layers in your double boiler over simmering water.) Place 6 ounces of white chocolate in a small heatproof bowl or a liquid measuring cup. Add 1/2 teaspoon of oil. Melt in 20-second increments, stirring vigorously with a rubber spatula or spoon after each increment, until completely melted and smooth. White chocolate and chocolate overheat easily, so it’s important to do this in increments. Make sure you scrape down the sides of the bowl to avoid scorching. Once melted, stir in 1/4 teaspoon peppermint extract. Pour melted white chocolate into the prepared baking pan, spreading with an offset spatula into a thin smooth layer. (If using a baking sheet, make is as thin as you’d like… mine is usually about 8×12 inches.) Place the baking pan in the refrigerator for 10-15 minutes or until almost completely set. If it sets completely, the bark layers could separate.
- Middle layer: Place semi-sweet chocolate in a small heatproof bowl or a liquid measuring cup. Add 1/2 teaspoon of oil. Repeat melting, just as you did with the white chocolate in step 2. Once melted, stir in remaining 1/4 teaspoon peppermint extract. Pour all of the semi-sweet chocolate over the white chocolate layer and spread it into a smooth layer. Place the baking pan back in the refrigerator for 10-15 minutes or until almost completely set.
- Top layer: Place the remaining white chocolate in a small heatproof bowl or a liquid measuring cup. Add last 1/2 teaspoon of oil. Repeat melting, just as you did with the other layers. Pour over the bark layers and spread into a smooth layer. (This layer will not have peppermint extract.) Sprinkle evenly with crushed candy canes. To crush, place the unwrapped candy canes in a sealed zipped-top bag and roll or bang with a rolling pin or meat mallet until crushed.
- Refrigerate the bark until completely set, about 1 hour. Once hardened, remove from the pan and peel off the foil or parchment. Break or cut into pieces as large or as small as you want. If your bark chilled in the refrigerator for longer than 3-4 hours, let it sit at room temperature for 10-15 minutes to slightly soften before breaking/slicing. (Or else the layers can separate.)
- Cover and store leftover bark in the refrigerator for up to 3 weeks. The bark can be left at room temperature for a few days in colder months, but it gets a little soft.
Notes
- Chocolate: Since there are so few ingredients, it’s important to use quality chocolate. Chocolate chips and white chocolate morsels are fabulous in cookies, but are not ideal for melting into bark. And while candy melts are great for coating cake pops, in a recipe like this, you’ll really taste the difference between actual chocolate and candy melts. I recommend Ghirardelli, Guittard, or Baker’s brand bars of chocolate. You can find them in the baking aisle of most grocery stores and they’re usually sold in 4 ounce bars. (Guittard brand is usually sold in 6 ounce bars.)
- What is the purpose of the oil? Oil helps thin out the melted chocolate so it’s easy to pour and spread. It also helps keep the chocolate on the softer side, rather than crumbly and hard.
- Can I temper the chocolate for this bark? I prefer melting the chocolate without tempering for this easy bark recipe. You can temper the chocolate instead if you’d like, which results in a harder chocolate bark with a little “snap” to it. Here is a helpful tempering chocolate tutorial. Do not refrigerate the layers or the finished bark; let the layers set at room temperature.
- Can I make this only 2 layers? Yes. Just use about 8 ounces of each chocolate. Let the bottom layer almost set, then top with the other melted chocolate. Continue with step 5.
- Can I double or triple this recipe? Yes. Double or triple all of the ingredients. Use a large lined baking sheet. All of the instructions are the same, including the setting times.
Keywords: peppermint bark, homemade peppermint bark
Subscribe
Baking Made Easy
Are you new to this website? This email series is a great place to start. I’ll walk you through a few of my most popular recipes and show you exactly why they work.